I started with the same roll of textured wallpaper that I used for the DIY toy chest (see that post here: )
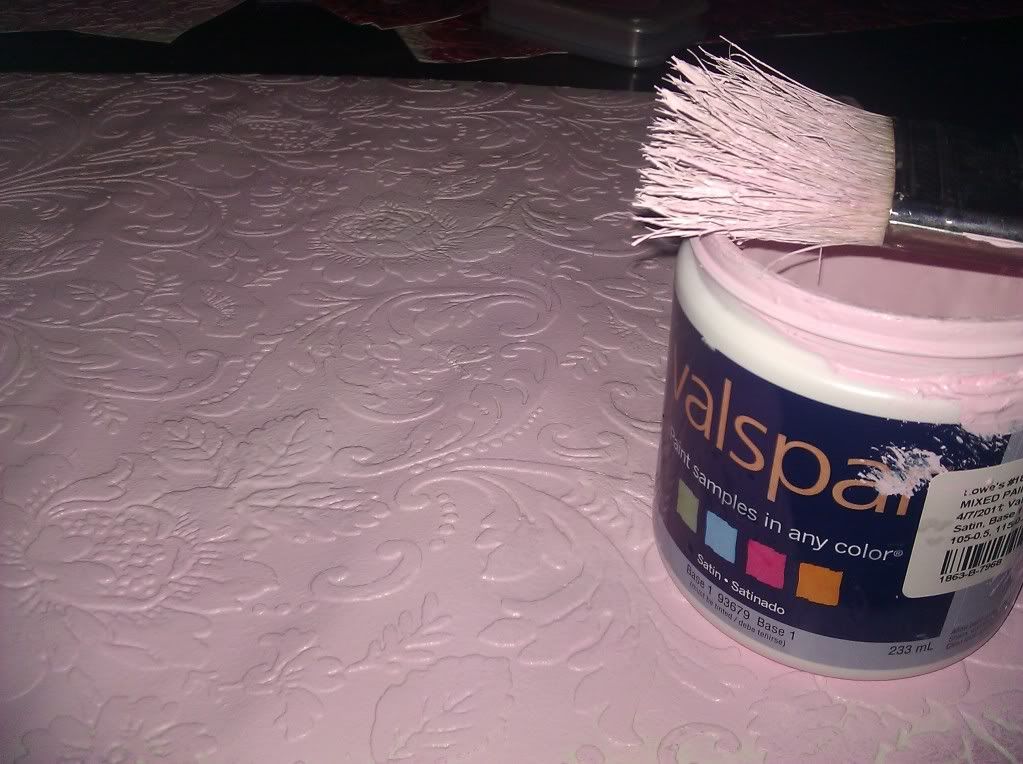
This time I painted the base of the paper with one of the rejected pink samples I considered for the wall stripes:
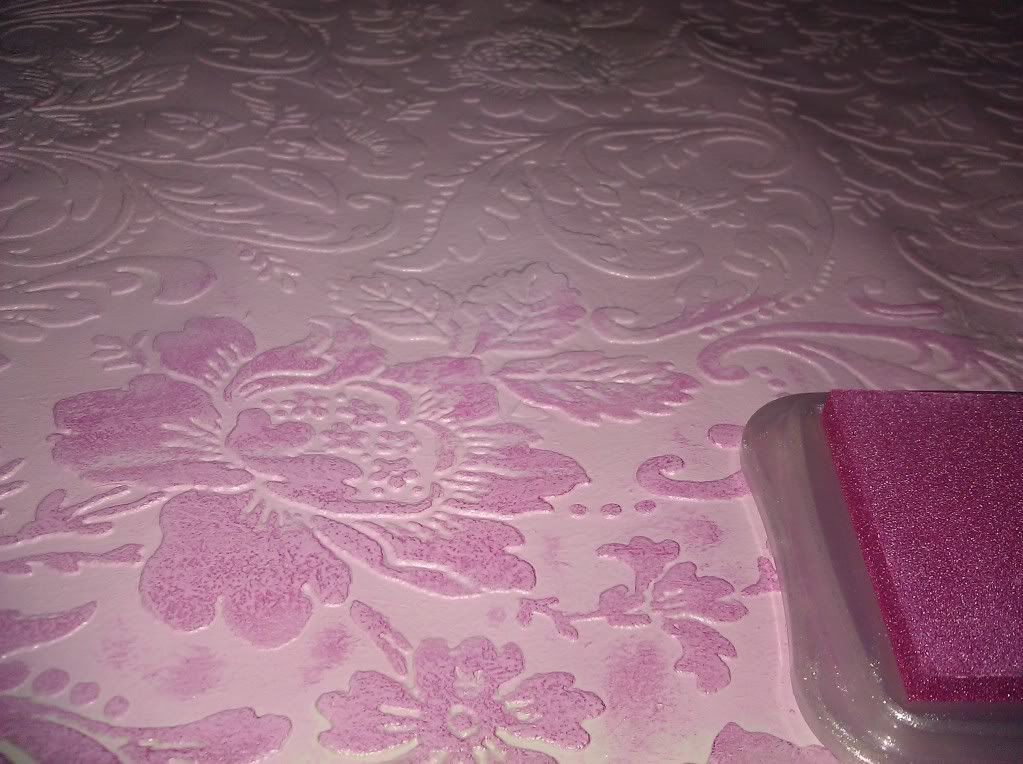
Then I took a sparkle stamp pad and gently ran it over the top of the paper so only the raised portion of the wallpaper picked up the darker pink color:
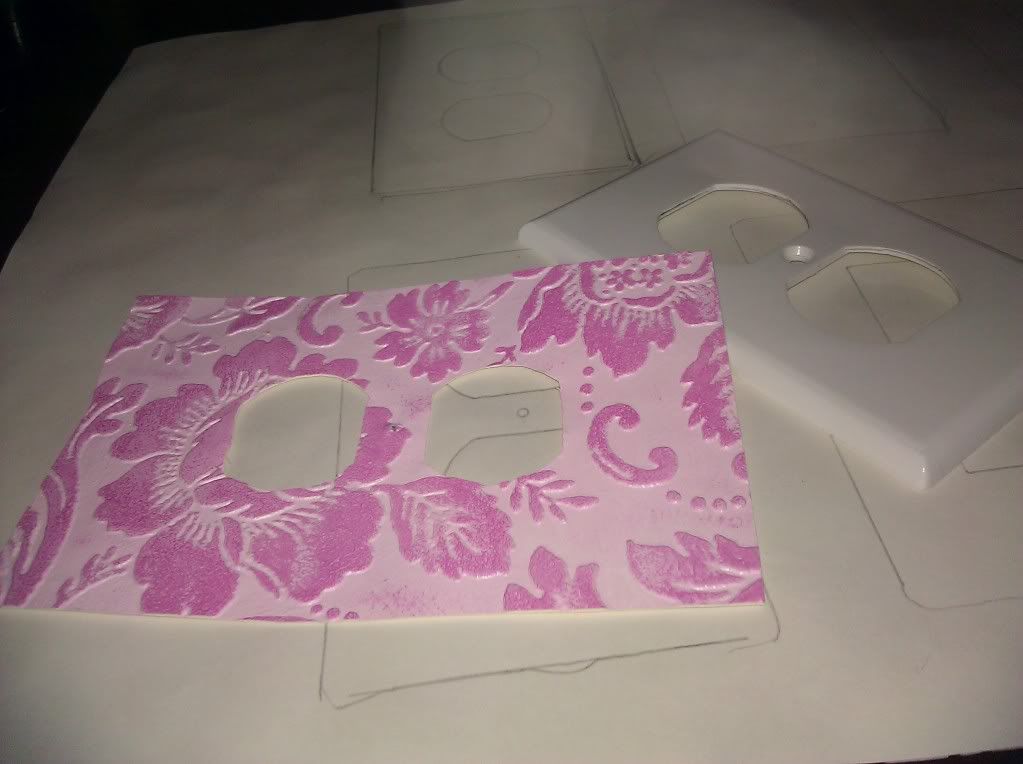
Once that was dry I traced the shapes of the outlet covers on the back of the paper and then cut them out:
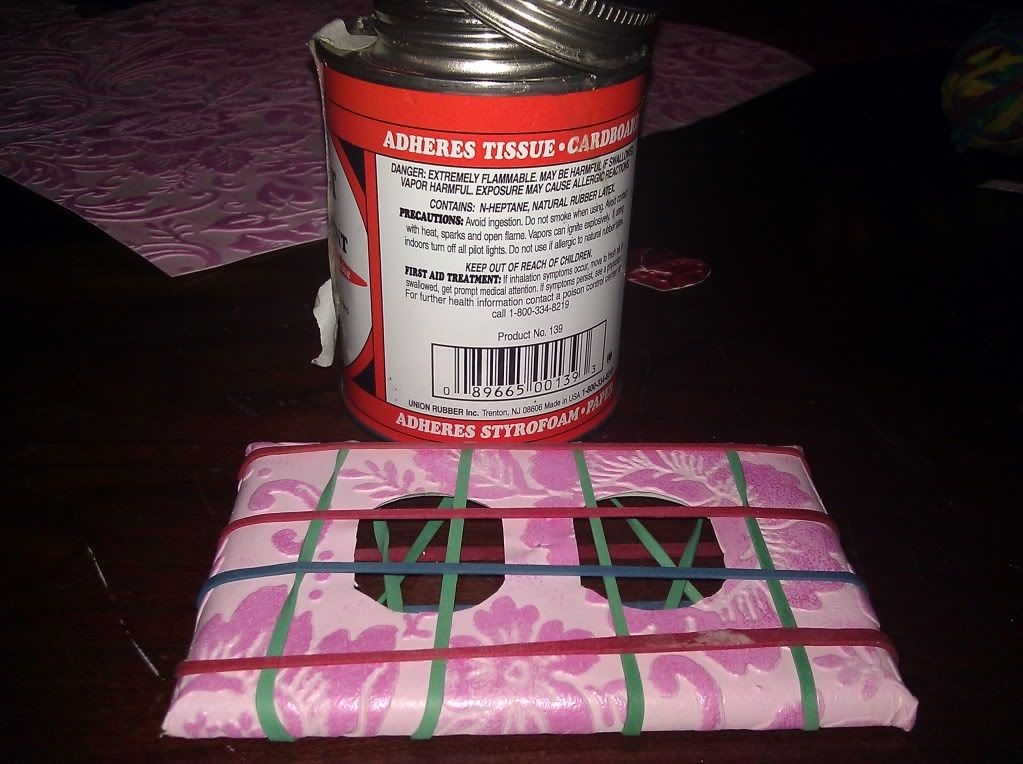
I then used rubber cement to glue the wallpaper on top of the existing covers and rubber bands to hold it in place while it dried (if I did it again I would probably use a stronger adhesive):
Make sure to paint the hardware/screws too-
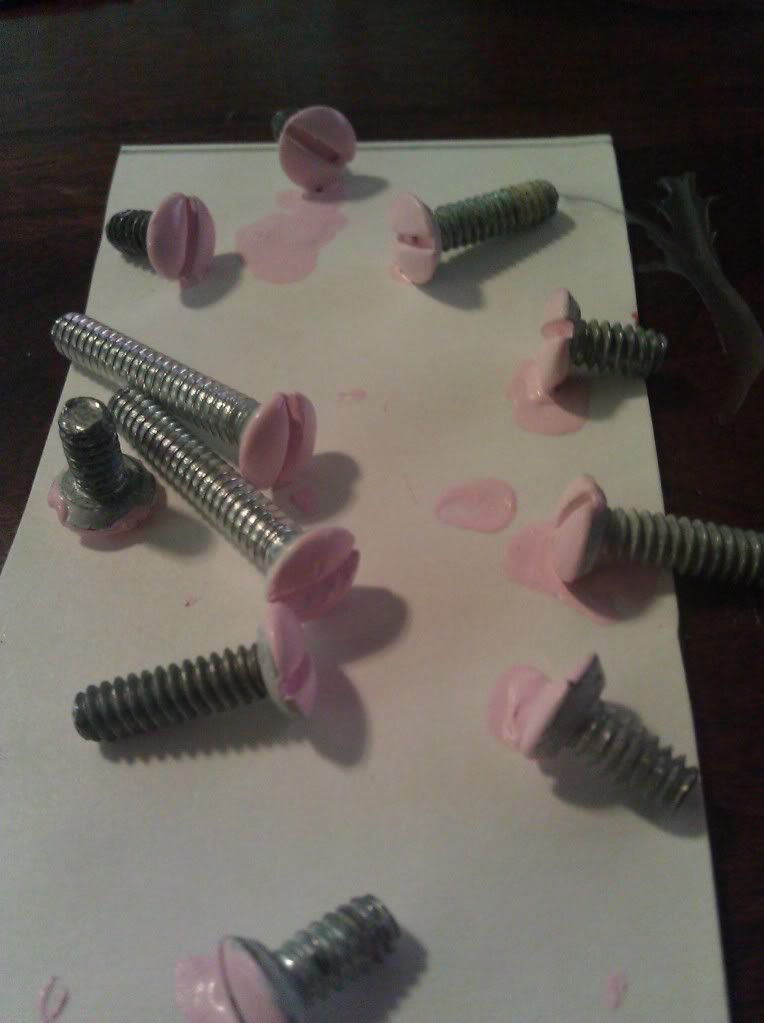
Finished Product-
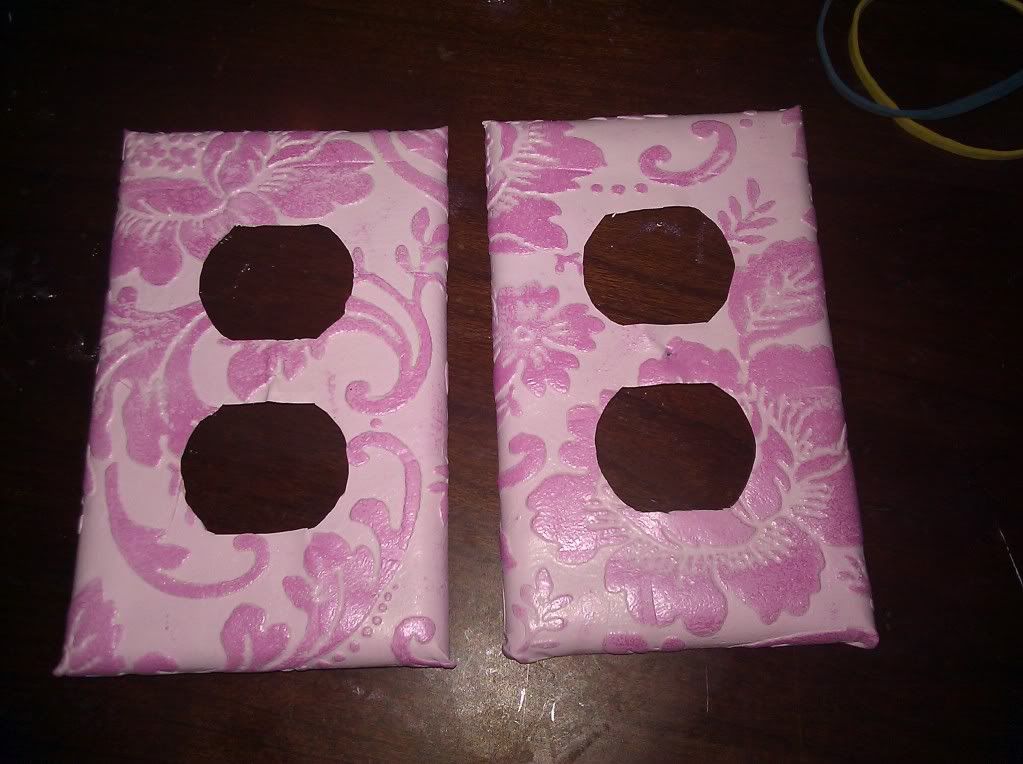
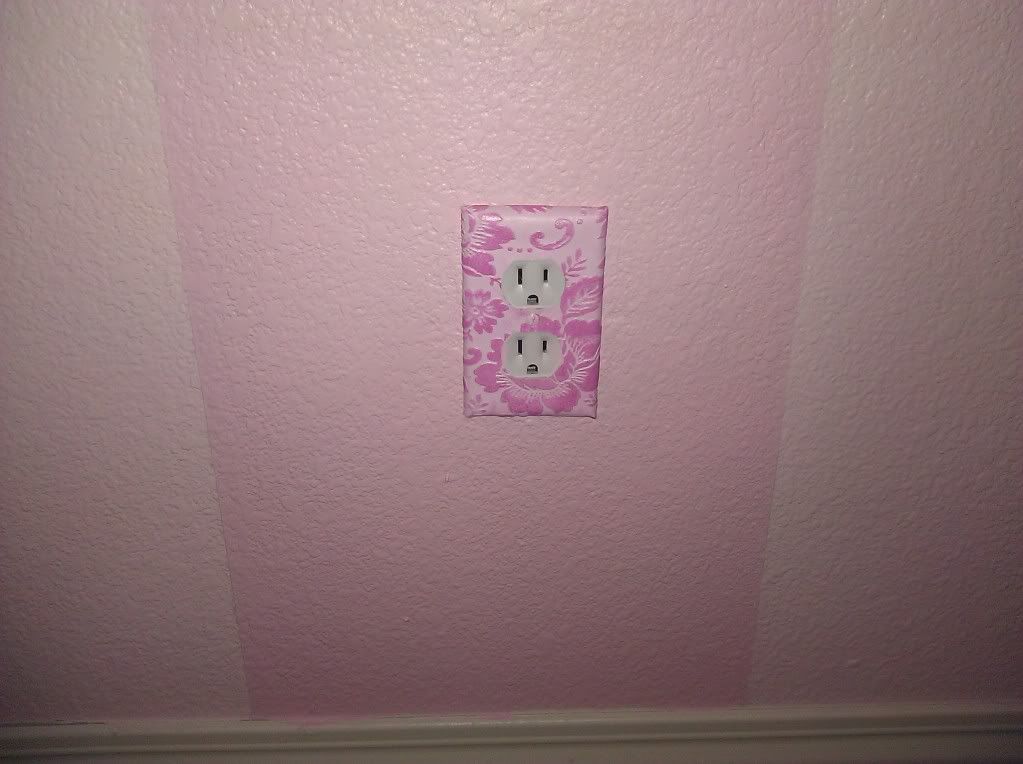
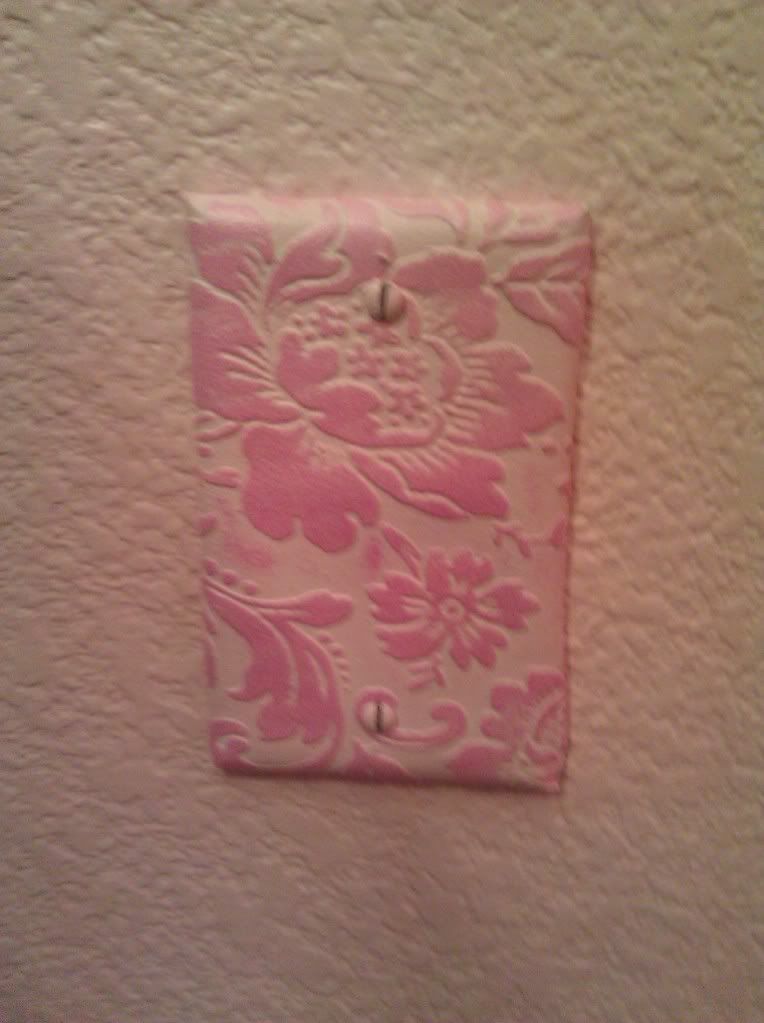
And the covers on the wall:
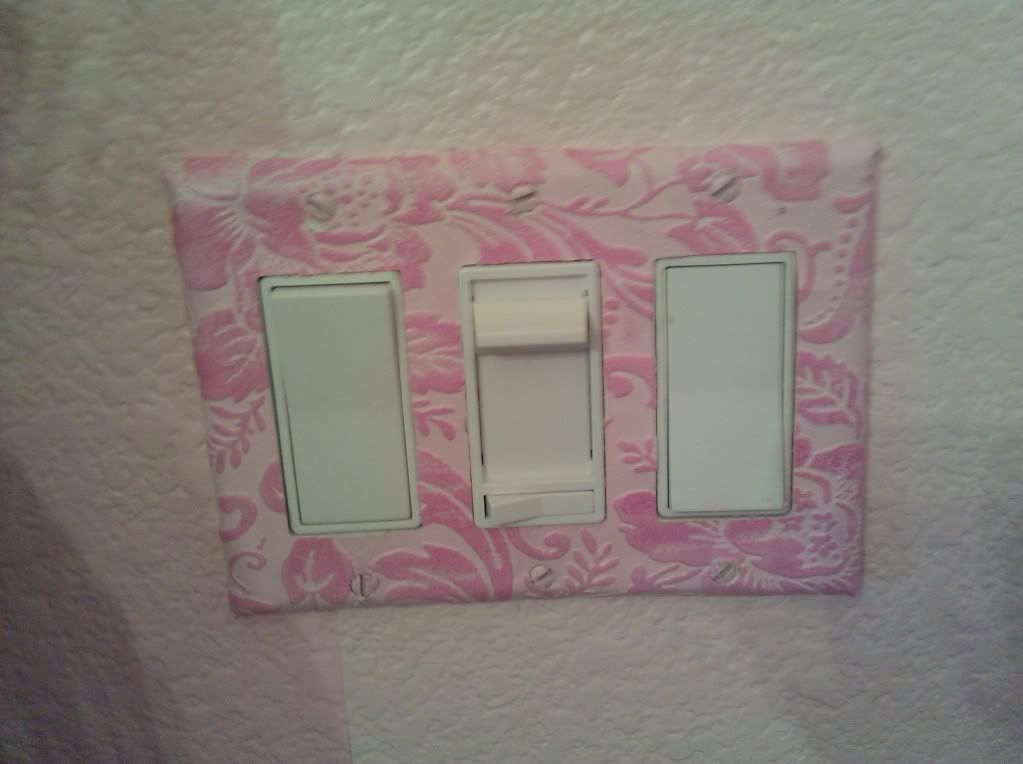
I did these for the light switch plates too:
And if you're super safety conscious and/or you don't need to access the outlets you can do a full cover like this... The ultimate baby proofing, lol-
How have these stood up with use? I'm thinking of doing something similar to mine, but wasn't sure how long they would last... THANKS!!
ReplyDelete